

How to Install SPC Flooring
SPC flooring is a durable, aesthetic,and cost-efficient solution to elevate our interior. Find out how to easily install SPC Flooring using the general guidelines here.
There is no question in SPC flooring’s capability to create a functional and beautiful home. SPC floors cannot only withstand daily tremors and traffic and last for a long time, it is also a quick and easy solution to elevate the look of the interior. Now the question you might be wondering is, “How do I install SPC flooring?” “Can I do it alone, or should I ask a professional to help?” While it is still better to hire professional help for the installation, having knowledge on the general guidelines of installing SPC flooring is important. The installation process is divided into three different parts: pre-installation, installation proper, and post installation. Each part is crucial to ensure a smooth running process and ensure quality and long-lasting finish. Read the guidelines below:
PRE-INSTALLATION
1. Material
- Check the material in daylight for possible damages due to transportation and production. It may be a production flaw, incorrect color or shade, chips on the edges, etc. This is important because once the material is installed, it cannot be replaced.
2. Surface
The following standard conditions are pre requirements to the surface where the product will be installed:
- The surface must be dry & humid-free
- Ensure that it has a flat level surface with no cracks or uneven surfaces (with level differences of maximum 2mm for one meter). Use of a self-leveling base is advised for leveling combined with a prior primer.
- It must be compact and sturdy.
- The surface must be clean and free of dust and crusts. Also keep the floor free from other obstructions or floor accessories that may hinder the installation of the product.
3. Temperature
- Let the product adjust to the room temperature by storing it in the area where it will be installed for at least 24 hours. Do this by opening the box and placing them horizontally to the floor.
- The optimal temperature and humidity levels are 20°/22°C and 50–60%, respectively.
4. Room Condition
- Always install the flooring in a floating method, without any glue to the subsurface or anchors like nails or screws.
- Consider using dilatation joints under doors, in lengthy hallways, or on surfaces that are longer than 12 m or wider than 10 m for 120 m.
- At the height of the flooring, the door profiles must be cut.
- SPC boards installed in open areas where they can be exposed to sunlight, are prone to dilatation because of increase in temperature of up to 60°C.
INSTALLATION
1. BEFORE LAYING
- Create a “Vapor Barrier” using a 0.2mm-thick layer of PE-film and adhesive tape over the whole installation area. The connections between the several PE film sheets must be positioned on top of one another for at least 300mm.
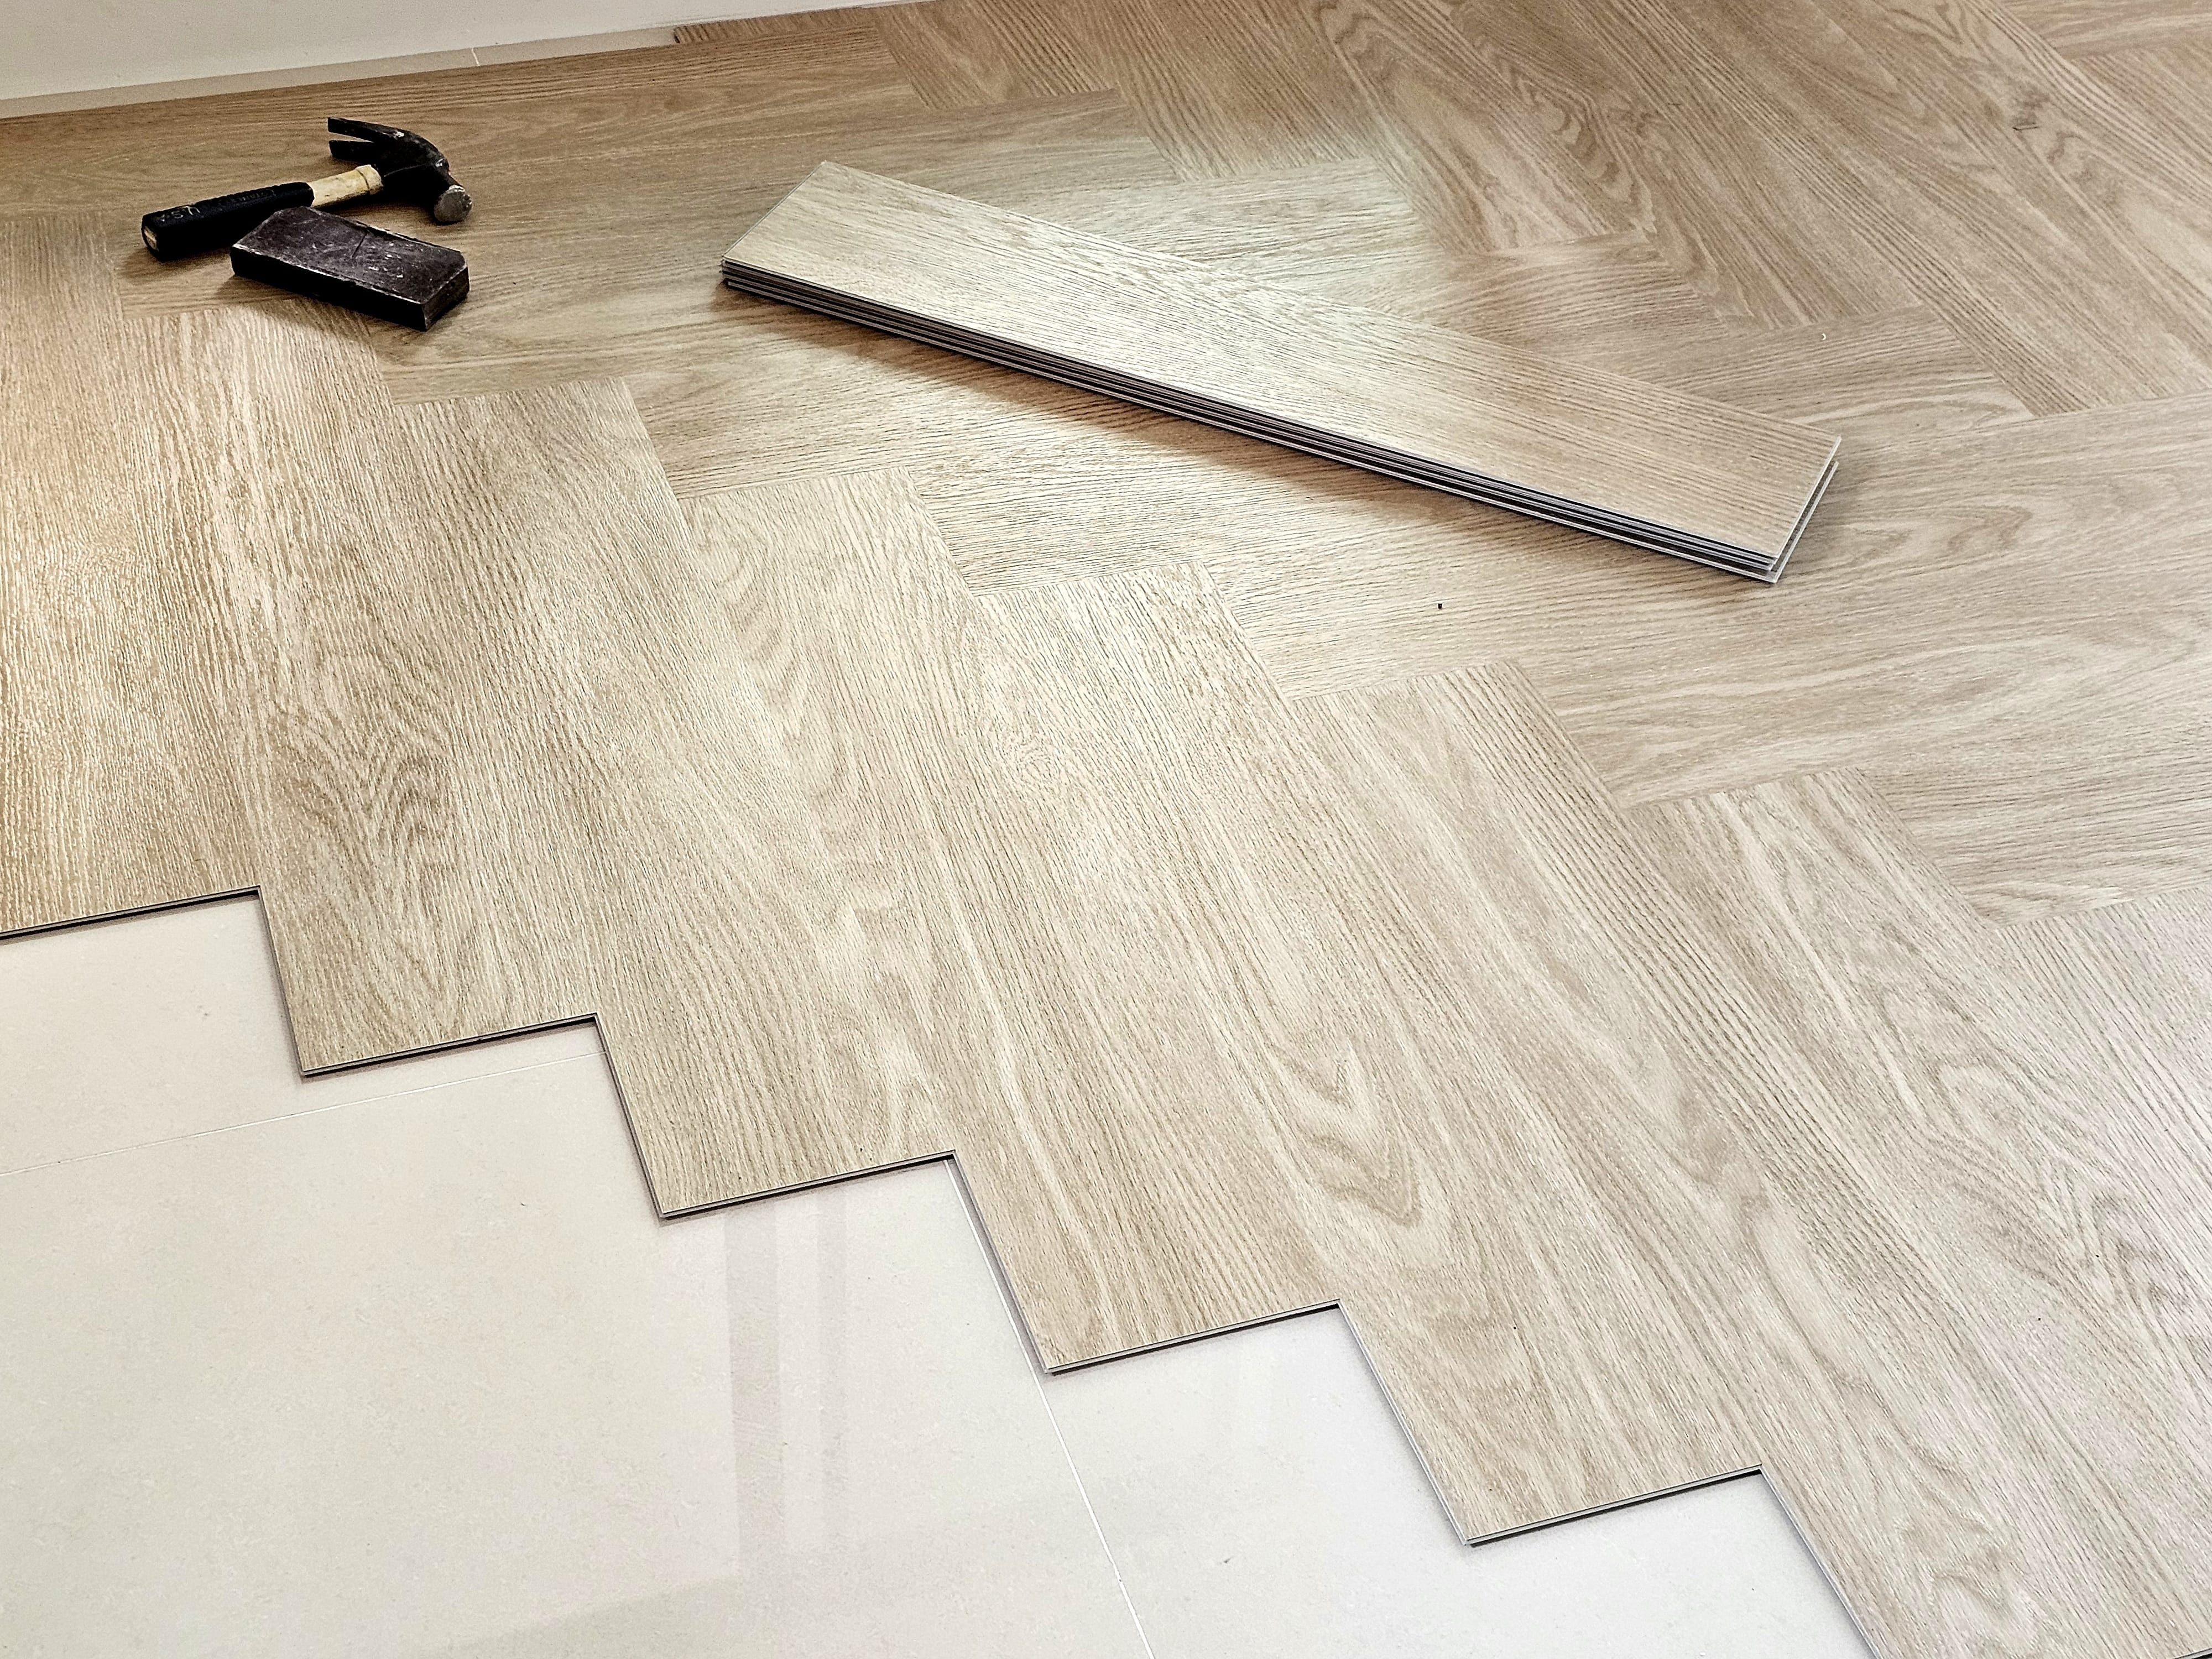
- Plan your layout beforehand. There are several flooring patterns you can achieve through SPC flooring. Make sure to study and measure the floor depending on the pattern you want. Decide whether you want horizontal strip patterns, diagonal strip patterns, herringbone parquet, and chevron parquet.
- Prepare the materials needed for installation. Take note that you do not need an adhesive to stick the SPC to the floor since it has a click-lock system for easier installation. You may need a metric, pencil, saw, mallet, sealing compound, level, spacers, shunting tool, and nylon tapping block.
2. LAYING
- Install the boards in the same direction as the room’s light.
- Utilizing spacers, begin installing the first row in a corner of the space, leaving a 10 mm gap between rows to allow for flooring dilatation.
- Once you hear the click of closing, join the first row’s short edges laterally with a rotation of 15-20°, then align with the spacers. You may use a rubber mallet to gently secure the boards from each other.
- Cut the board required to finish the first line, saving the uninstalled portion.
- Lay the second line of boards using the last piece of the first line’s last board once the first line of boards has been set up. The first board of the second line should be placed lightly in the diagonal direction, fixed, and lightly supported.
- The short board joints between two lines must be spaced apart by at least 300mm (stagger).
- The front portion of the last board should be placed against the first one. Repeat the process with the second board.
- Measure the remaining distance from the wall to the last line of boards before installing them. Lay the boards after cutting them to length.
- Create a minimum of 10 mm expansion gap between the door frames, walls, corners, and all other stable pieces (In the larger space, minimum 1.5 mm for each meter of width).
3. AFTER LAYING
- When all of the flooring has been installed, remove the spacers.
- Wipe the floor after laying.
POST INSTALLATION
1. MAINTENANCE
- Maintain cool and dry ambient conditions even after installation.
- Put protective pads at the bottom of your furniture to protect the flooring from aggressive force and scratches.
- As much as possible, do not drag heavy furniture when moving them. Lift it instead.
- Avoid setting up heavy furniture on the floor because it may block the flooring’s normal movements.
2. CLEANING
- Clean the surface with a moist towel for daily cleaning.
- Do not use harmful and toxic cleaning agents to prevent damage to the material.
- Knowing how to install SPC flooring limits the mistakes you may make especially if you are a first timer. For more information, you can ask your local SPC flooring supplier to guide you through the process of installing SPC flooring.
Where can I buy SPC Flooring materials?
Decocity offers quality interior finishing materials like indoor and outdoor wall and ceiling panels, high pressure laminates, and SPC flooring. If you are looking for a trusted local supplier, then Decocity is for you. SPC flooring is available in all Decocity stores nationwide, and all Polylite branches. For a list of the stores, you may refer to this. You may also visit our website to check our selection of interior finishing materials. Message us for more information.